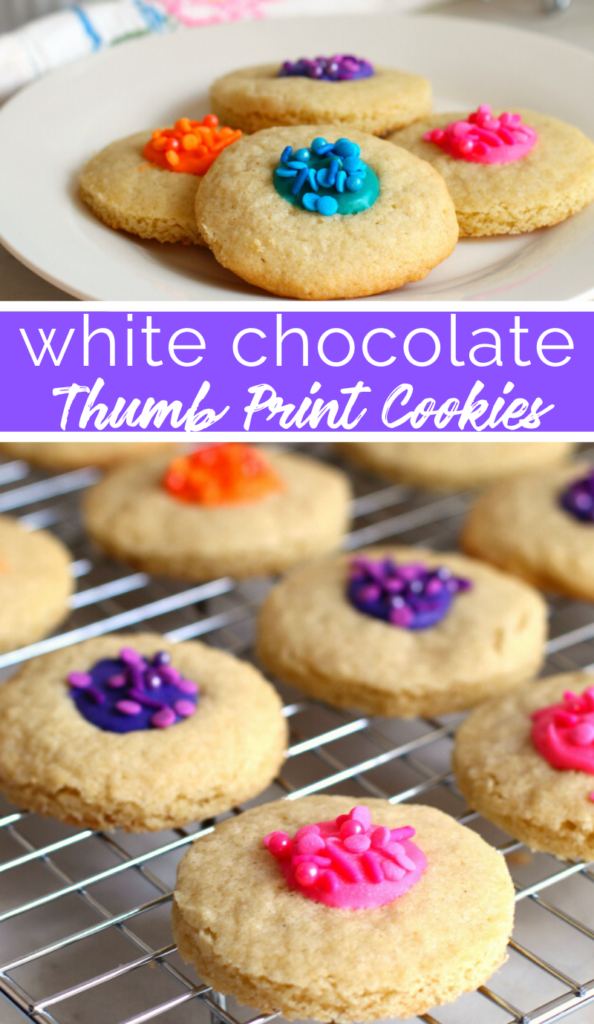
White Chocolate Thumbprint Cookies
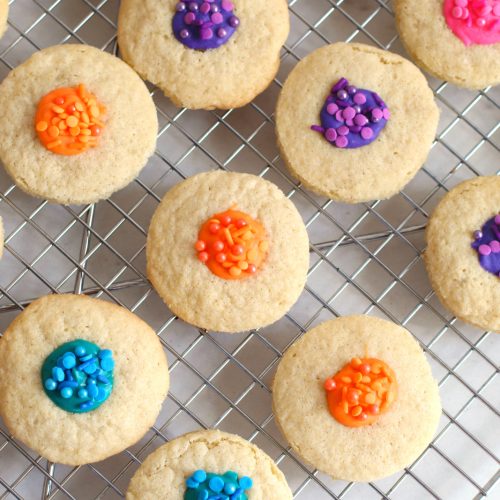
These colorful cookies will brighten anyone’s day!
Thumb print cookies have been around for a long time. They are probably one of the most popular Christmas Cookie around. And why is that? Because they are delicious! You’ll usually see this type of cookie with a beautiful jam center. I wanted to take the yummy base cookie recipe, and add a colorful twist….. a white chocolate colorful twist!
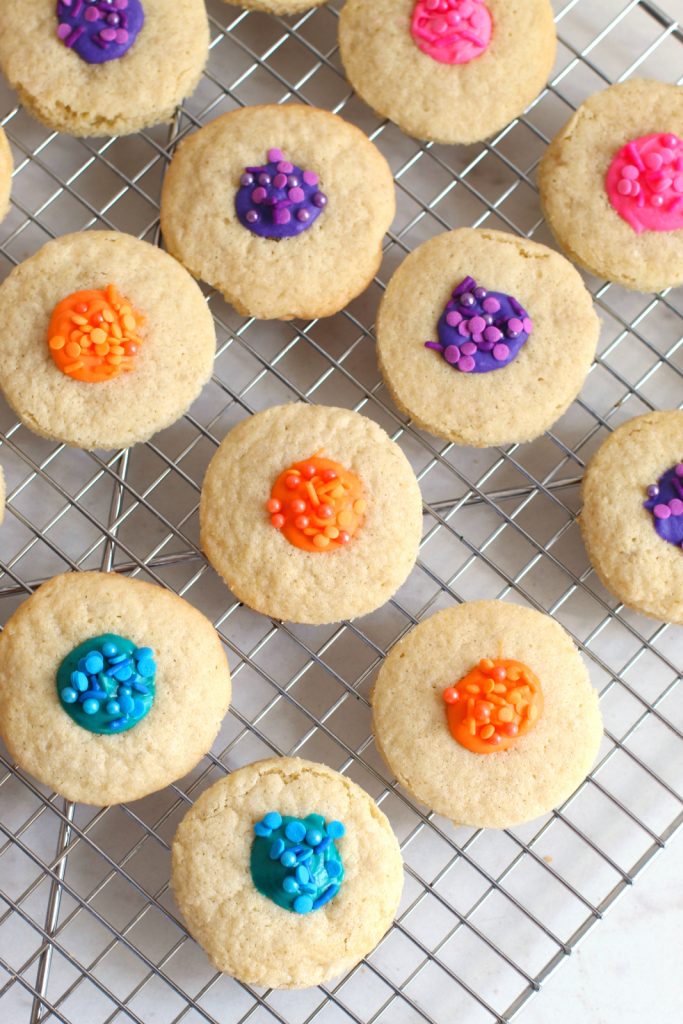
These colorful White Chocolate Thumb Print cookies have become a major hit at our house. They are buttery cookies with great flavor, filled with white chocolate. To make them extra fun, we added some food coloring to the melted white chocolate.
Kids really love to help make these cookies. Making those fun thumbprints is the coveted job at our house. Just make sure the cookies are slightly cooled before those little fingers attack.
Email Me This Recipe!
Need to save time? Have this article emailed straight to your inbox + sign up for all the latest recipes!
Tips for Perfect Thumbprint Cookies:
Can I use Margarine for this cookie recipe?
No. Make sure you are using REAL BUTTER. Non of those frankinfats. Margarine will not work for this recipe.
Can I fill these thumbprint cookies with anything else?
You could always fill with the original jam. Another fun filling would be frosting!
How do I store these cookies? Can I freeze the cookies?
Cookies may be stored at room temperature in an airtight container for 3-4 days.
These cookies also freeze well. To defrost, simply remove from freezer container and place on plate on the counter until they thaw completely.
How can I make these into gluten free cookies?
Substitute the all purpose flour with gluten free flour ( and add in 1.5 tsp xanthan gum if your flour doesn’t contain it)
(As an Amazon Associate I earn from qualifying purchases.)
TOOLS USED TO MAKE THESE WHITE CHOCOLATE THUMBPRINT COOKIES
- Baking sheets – These non-stick Cookie Sheet comes with small, medium, and large sizes that provide the perfect option for any of your baking needs.
- Cookies scoop – This pack of scoop has 3 different sizes so if can be used for many different foods and cookies.
- Stand Mixer This mixer has a 10-speed slide control ranges from a very fast whip to a very slow stir.
- Parchment paper – Parchment baking paper is non-stick for quick food release and easy clean up
- Food coloring – 12 color highly concentrated edible cake decorating coloring in a wide range of bright intense colors.
- Fun food sprinkles – mix and match your favorite sprinkles!
- Cooling racks – These are great cooling racks for cookies pies and cakes
- Measuring cups and spoons – Each cup’s “ml” and cup sizes have passed clearly engraved marking, and you can quickly identify the cup scale according to the color of the handle.
How to make White Chocolate Thumbprint Cookies
Ingredients you will need:
- unsalted butter
- powdered sugar
- granulated sugar
- vanilla extract
- egg
- all purpose flour
- baking soda
- salt
- white chocolate chips
- food coloring
- food sprinkles
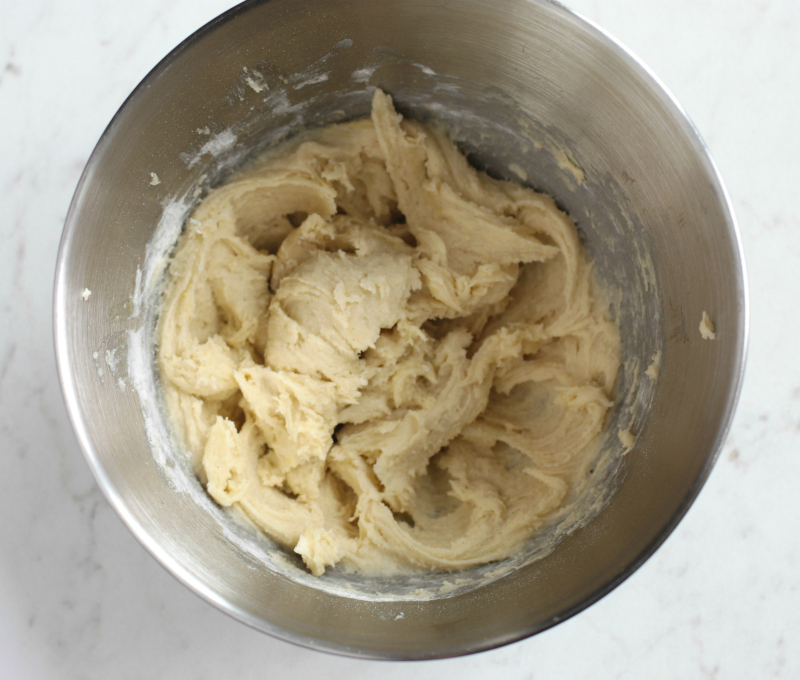
- Preheat oven to 350 degrees F. Line a baking sheet with parchment paper and set aside. Add butter, powdered sugar and granulated sugar to the bowl of a mixer.
- Mix on medium speed until creamy. Add vanilla extract and egg to the bowl. Mix on medium speed for 1-2 minutes until combined. Add salt, baking powder, and flour into the mixing bowl. Mix on low speed for 1 minute and then change setting to medium speed for an additional 2 minutes.

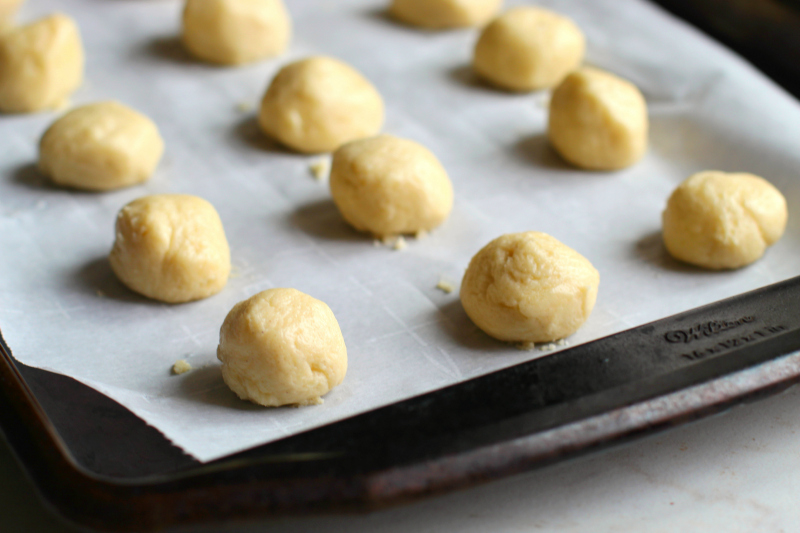
- Moisten your hands with cold water and roll the dough into 1” balls, placing them on prepared baking sheet – 2 inches apart. If dough begins to stick to hands while working, simply wet them again under cold water and start again.

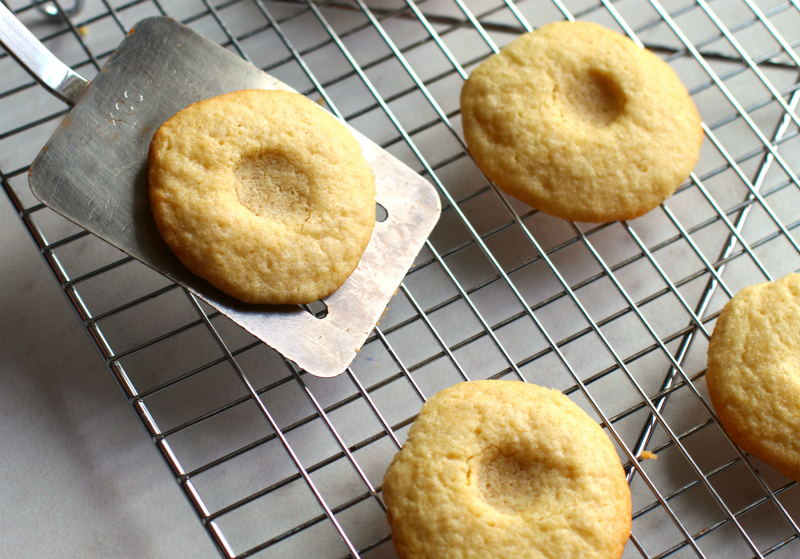
- Bake for 8-10 minutes or until cookies are a light golden color. Remove cookies from oven and use your thumb to gently press the center of each cookie to create a well for the filling. Allow cookies to cool on the baking sheet for 2 minutes before transferring to a wire rack to cool completely.

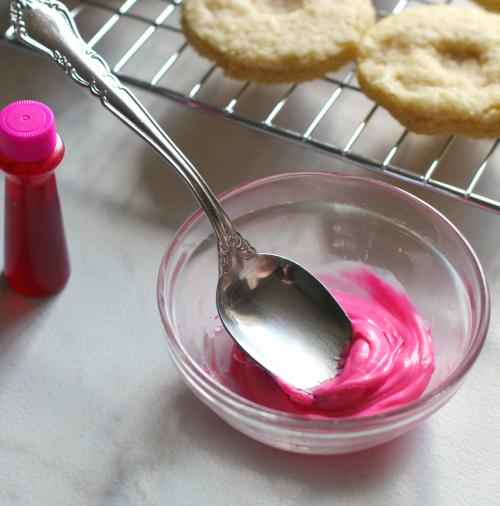
- For the filling, melt the white chocolate in the microwave on 50% power for up to 30 seconds. Stir and continue melting at 50% power for an additional 15 seconds, repeating this process until completely melted. Divide the white chocolate into separate bowls and add 1-2 drops of food coloring, stirring well to incorporate. If the white chocolate seizes up after food coloring is added, simply add a drop or two of cooking oil and stir. If this doesn’t fix the problem, microwave again on 50% power for a few seconds and stir again and the chocolate should smooth out.

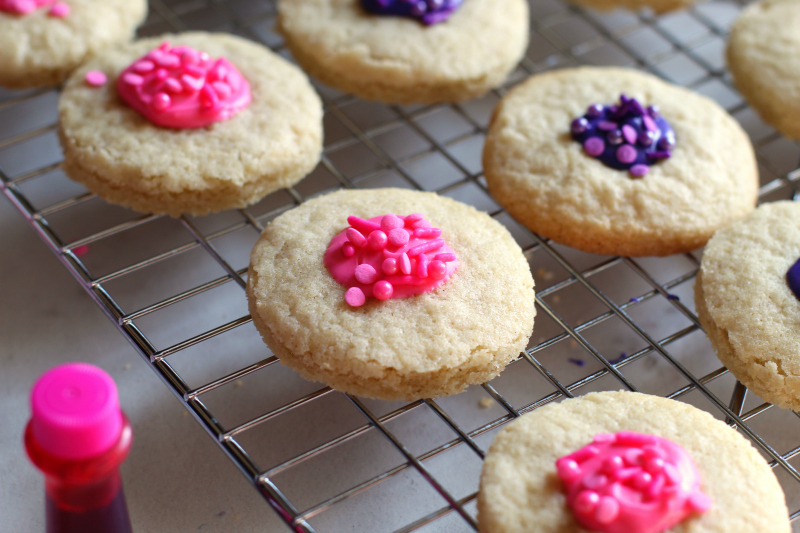
- Spoon colored chocolate into the well of each cookie, adding sprinkles immediately if desired. Allow chocolate to cool and harden before serving.
White Chocolate Thumbprint Cookies
Email this recipe!
Get this recipe emailed straight to your inbox!
Ingredients
- 1 cup unsalted butter softened
- 1 cup powdered sugar
- ⅔ cup granulated sugar
- 1 teaspoon vanilla extract
- 1 egg
- 2 ½ cups all purpose flour
- 1 teaspoon baking soda
- ½ teaspoon salt
- 1 cup white chocolate chips
- Gel food coloring
- Optional: Sprinkles
Instructions
- Preheat oven to 350 degrees F. Line a baking sheet with parchment paper and set aside.
- Add butter, powdered sugar and granulated sugar to the bowl of a mixer. Mix on medium speed until creamy.
- Add vanilla extract and egg to the bowl. Mix on medium speed for 1-2 minutes until combined.
- Add salt, baking powder, and flour a mixing bowl. Mix on low speed for 1 minute and then change setting to medium speed for an additional 2 minutes.
- Moisten your hands with cold water and roll the dough into 1” balls, placing them on prepared baking sheet - 2 inches apart. If dough begins to stick to hands while working, simply wet them again under cold water and start again. Bake for 8-10 minutes or until cookies are a light golden color.
- Remove cookies from oven and use your thumb to gently press the center of each cookie to create a well for the filling. Allow cookies to cool on the baking sheet for 2 minutes before transferring to a wire rack to cool completely.
- For the filling, melt the white chocolate in the microwave on 50% power for up to 30 seconds. Stir and continue melting at 50% power for an additional 15 seconds, repeating this process until completely melted.
- Divide the white chocolate into separate bowls and add 1-2 drops of food coloring, stirring well to incorporate. If the white chocolate seizes up after food coloring is added, simply add a drop or two of cooking oil and stir. If this doesn’t fix the problem, microwave again on 50% power for a few seconds and stir again and the chocolate should smooth out.
- Spoon colored chocolate into the well of each cookie, adding sprinkles immediately if desired.
- Allow chocolate to cool and harden before serving.
Nutritional Disclaimer: Family Fresh Meals is not a dietician or nutritionist, and any nutritional information shared is only an estimate. We recommend running the ingredients through an online nutritional calculator if you need to verify any information.
Did You Make This Recipe?
Make sure to share it with me below!