
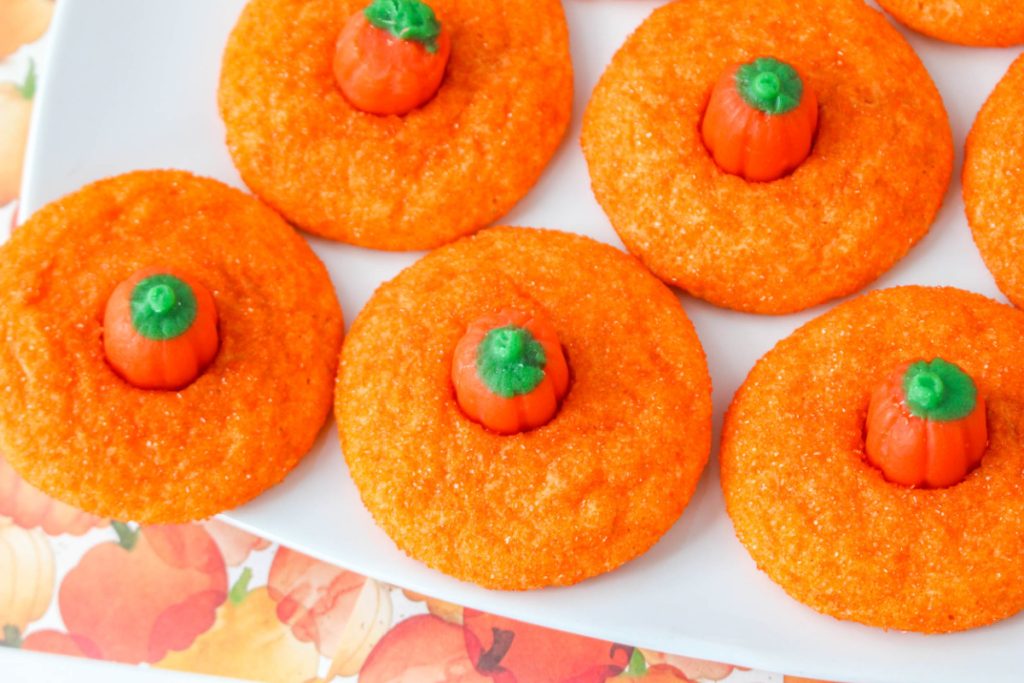
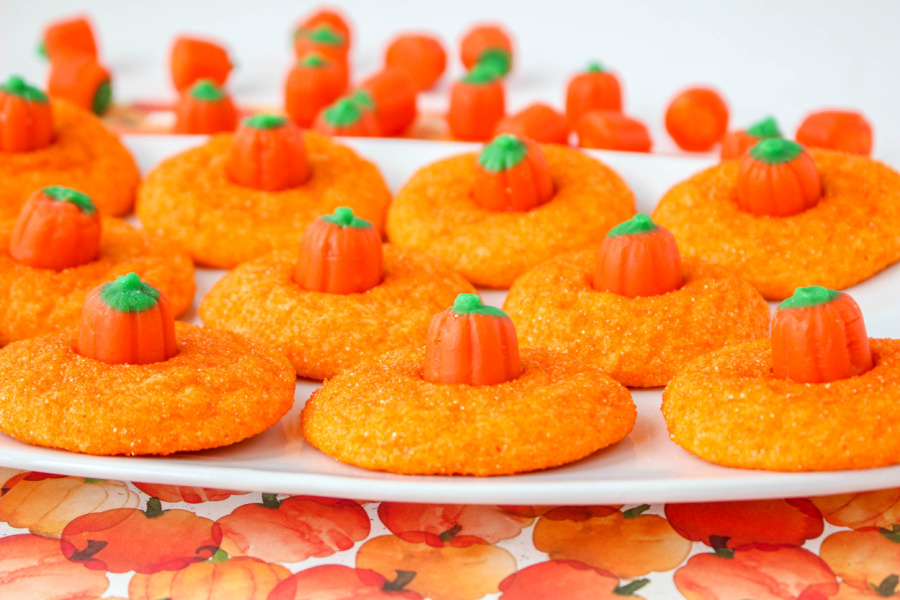
Cute Pumpkin Blossom Cookies
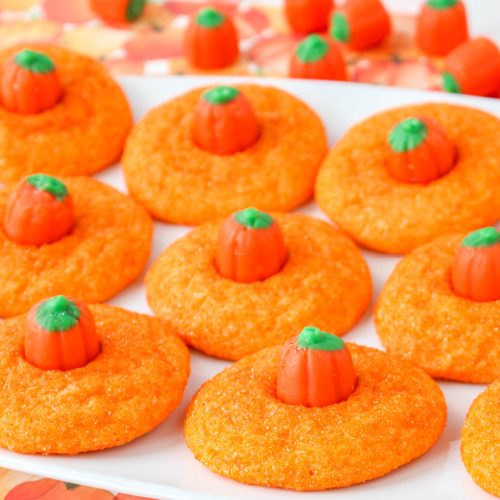
These Cute Pumpkin Blossom Cookies are not just adorable and fun to make, they also taste great! They’re soft and chewy inside while crispy on the outside, decorated with brightly colored orange sprinkles and candy pumpkins.

Get the kids involved when making these festive cookies by allowing them to place the candy pumpkins into the center of each cookie once slightly cooled.
Recipe Notes:
- To get even sized cookies, use a 2 tablespoon cookie dough scoop when measuring out the cookie dough. A 3 tablespoon scoop will make jumbo cookies.
- I use good quality food coloring for the cookie dough but you can leave this out if you prefer or even use a different color for fun.
- Easily gift these cute pumpkin blossom cookies this Fall or Halloween by placing them in a paper box or clear cello bag with decorative ribbon and a gift tag.
You can freeze your baked pumpkin blossom cookies for up to 3 months without the pumpkin candies. First, place your cookies on a flat baking sheet and freeze for 20 minutes or longer until they are frozen. Then stack your cookies in a freezer-safe container with parchment paper between layers of cookies.
You can add the pumpkin candies with some melted chocolate or frosting to secure it once the cookies have defrosted and just before serving.
These cookies can be stored in an airtight container in a cool and dry area of your kitchen for up to 3 days or in your refrigerator for up to a week. That said, the fridge may create condensation on the pumpkin candies so I do prefer to store these cookies at room temperature.
Great question! If you want to ensure that your cookies come out soft and fluffy instead of flat (as can sometimes happen with cookies) you could chill the cookie dough in your fridge prior to baking your cookies.
You also want to make sure that you measure your butter carefully. Adding extra butter will cause your cookie dough to spread when baked.
Email Me This Recipe!
Need to save time? Have this article emailed straight to your inbox + sign up for all the latest recipes!
Cute Pumpkin Blossom Cookies
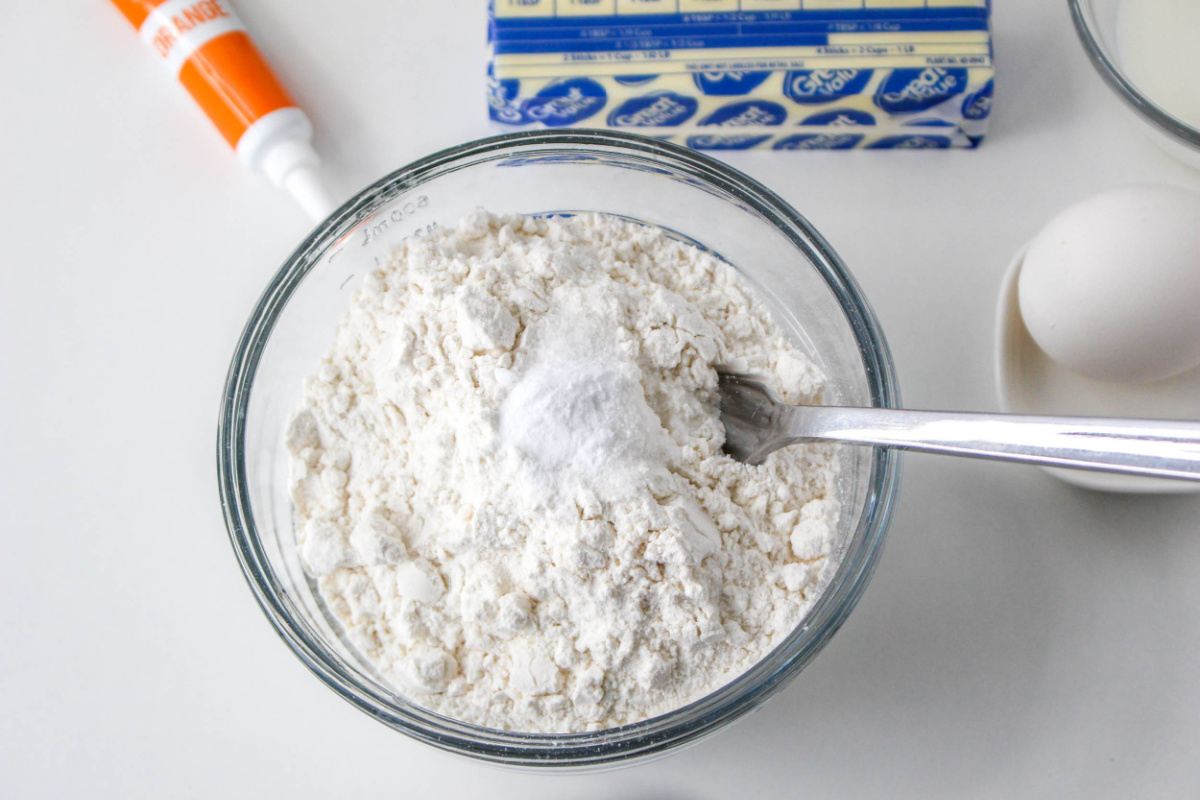
- Preheat the oven to 350 degrees. Prepare a large baking sheet with parchment paper. Whisk together the flour, baking soda, and salt. Set aside.

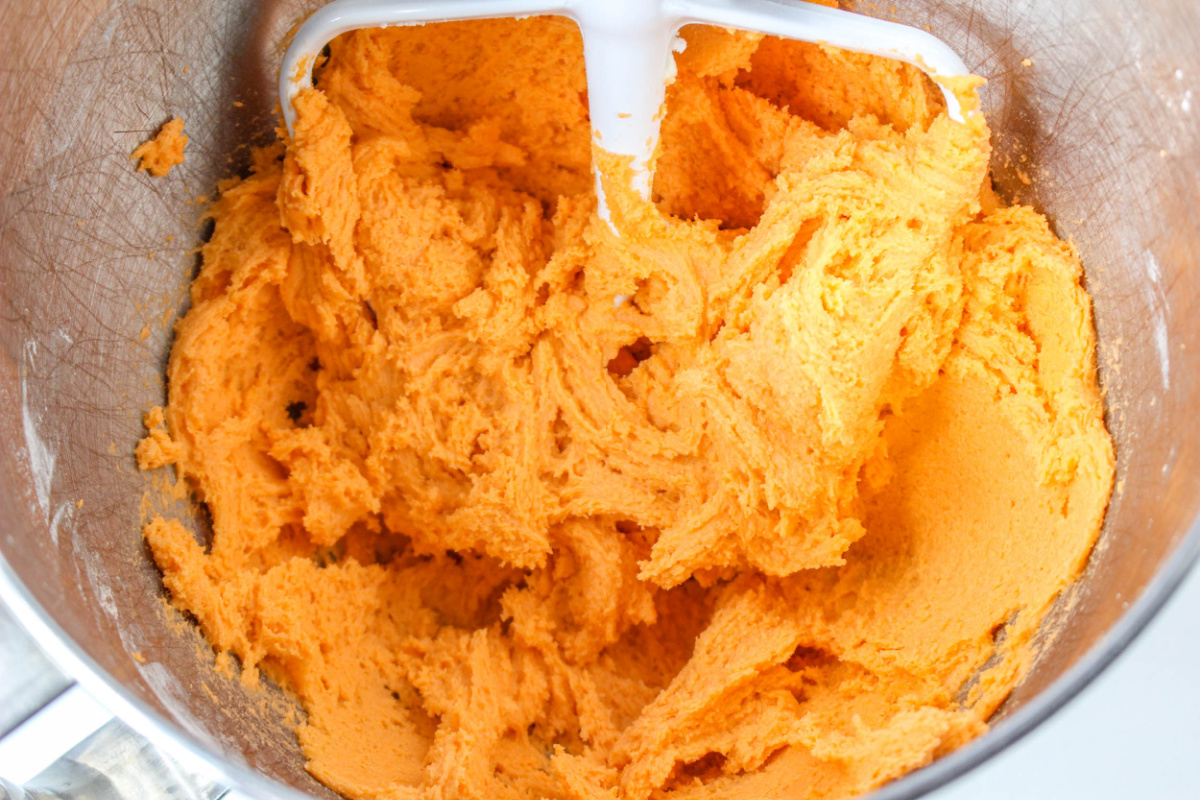
- Beat the butter and medium speed for 5 minutes. Scrape down the sides. Add the sugar and continue beating for 5 to 7 minutes or until fluffy.
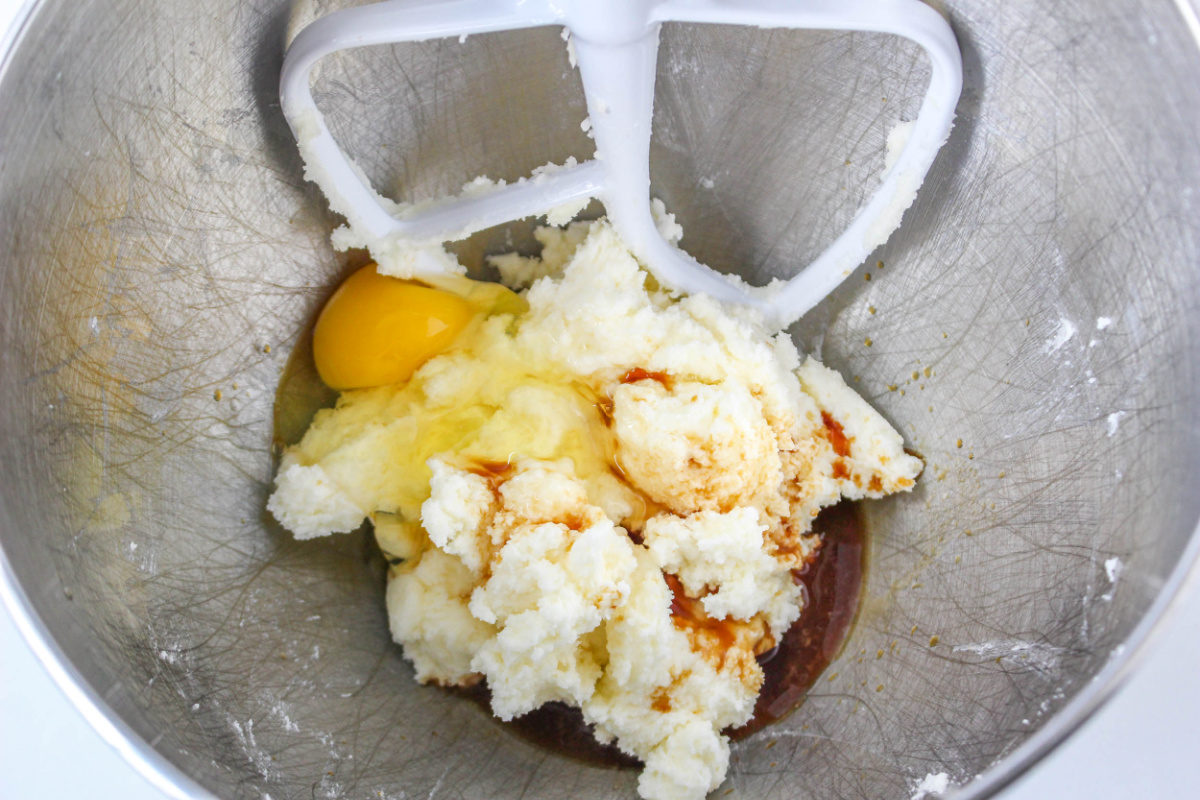
- Add the egg and vanilla extract, beating until evenly combined. Add the flour mixture and beat until mixed.
- Slowly add the milk to the dough as the mixer runs, adding just enough to soften the dough. Add in small amounts of food coloring until you achieve the color you want.
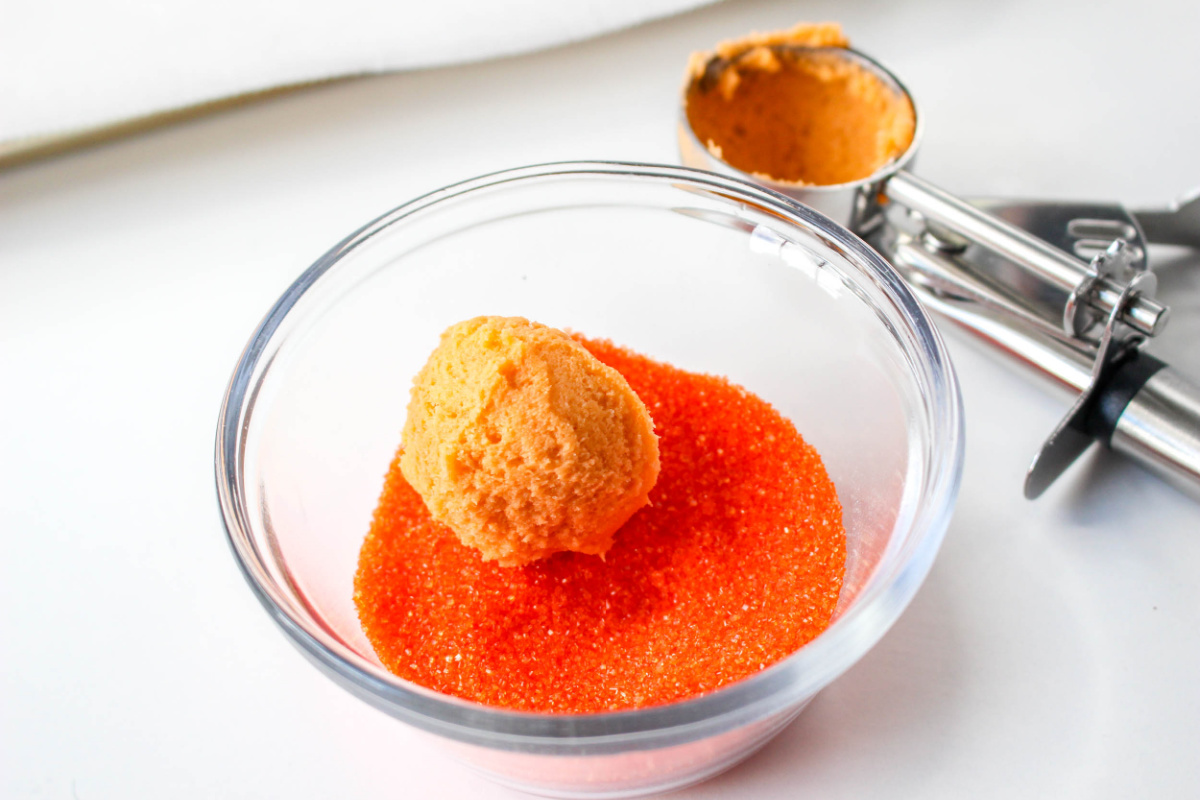
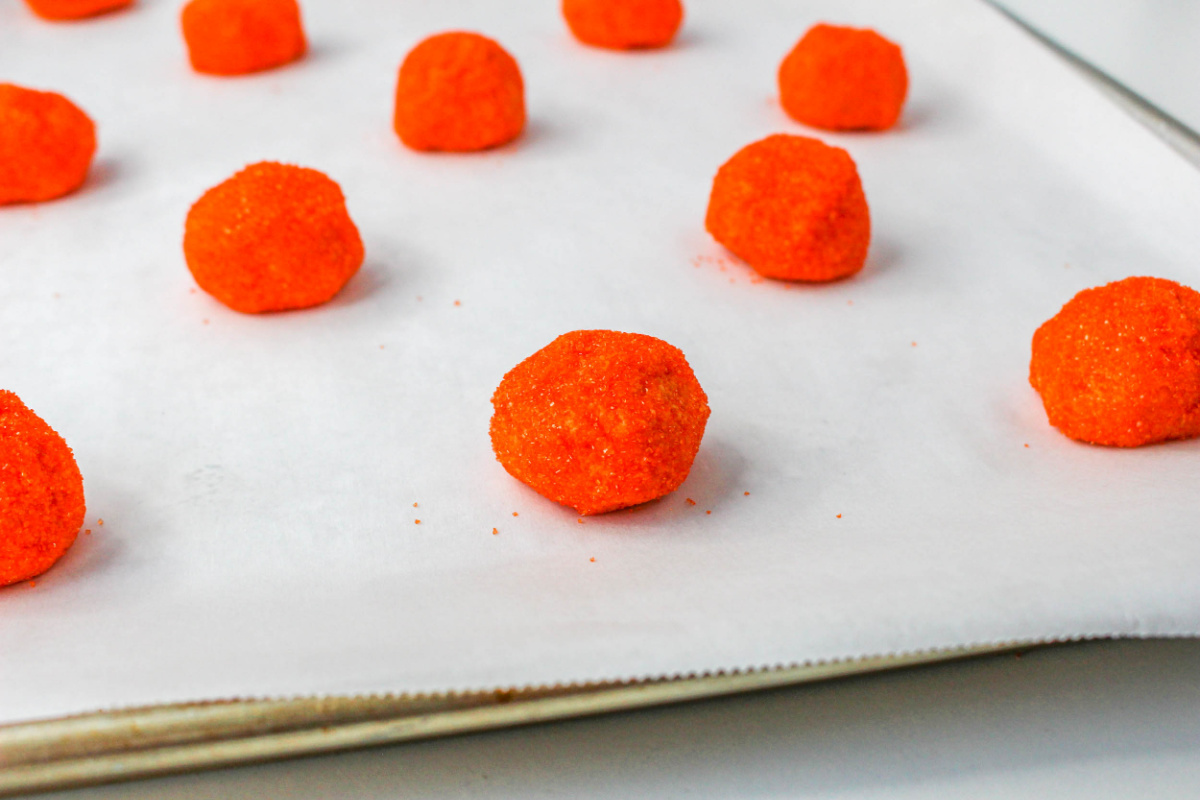
- Using a small (1 tablespoon) cookie scoop, portion the cookie dough and shape into balls. Roll each ball in the colored sugar if desired. Place on the baking sheet about 1 inch apart.
- Bake for 8 to 10 minutes or until the cookies are puffed and the edges are set.
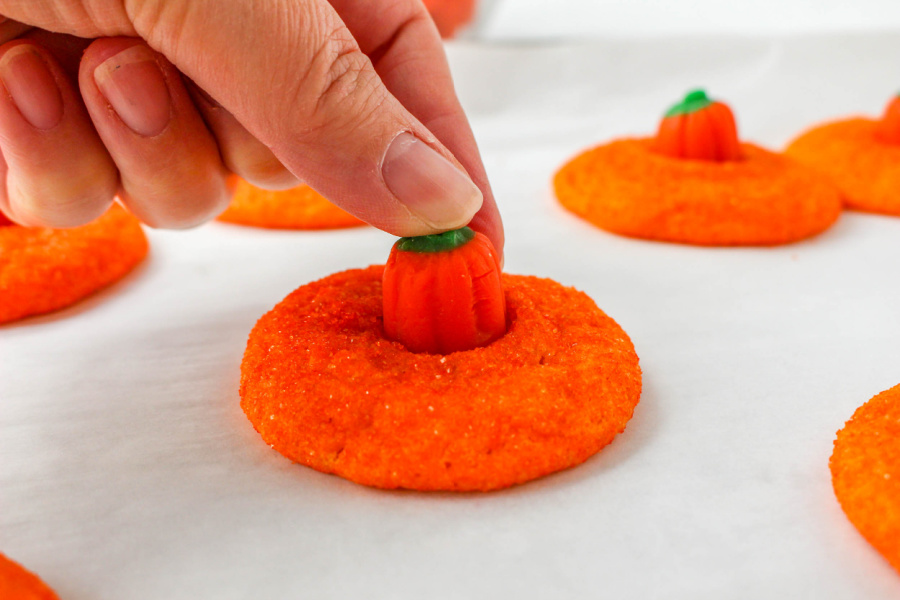
- Cool the cookies on the baking sheet for 2 to 3 minutes before pressing one pumpkin into the center of each cookie.
- Transfer to a wire rack and allow the cookies to cool completely. The candies will look like they are melting but do not disturb them and they will re-solidify in the correct shape.
- Store in an airtight container for up to 1 week or refrigerate for up to 3 weeks. Cooled cookies can also be frozen but sudden temperature changes may cause the candy to “bloom” which is harmless but not pretty.


Cute Pumpkin Blossom Cookies
Email this recipe!
Get this recipe emailed straight to your inbox!
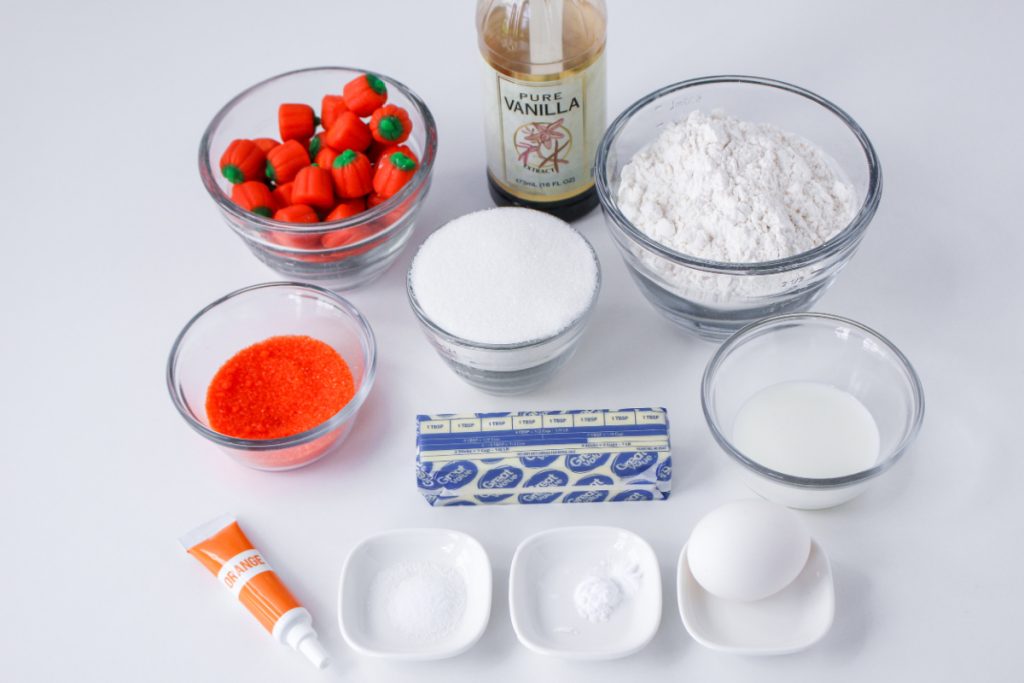
Ingredients
- 2 cups flour
- ¼ teaspoon baking soda
- ¼ teaspoon salt
- ½ cup 1 stick unsalted butter, room temperature
- 1 cup sugar
- 1 egg
- 1 ½ teaspoon vanilla extract
- 1 to 2 tablespoons milk
- Orange food coloring if desired
- ⅓ cup brightly colored sugar or sprinkles if desired
- 48 candy pumpkins
Instructions
- Preheat the oven to 350 degrees. Prepare a large baking sheet with parchment paper. Whisk together the flour, baking soda, and salt. Set aside.
- Beat the butter and medium speed for 5 minutes. Scrape down the sides. Add the sugar and continue beating for 5 to 7 minutes or until fluffy.
- Add the egg and vanilla extract, beating until evenly combined. Add the flour mixture and beat until mixed.
- Slowly add the milk to the dough as the mixer runs, adding just enough to soften the dough.
- Using a small (1 tablespoon) cookie scoop, portion the cookie dough and shape into balls. Roll each ball in the colored sugar if desired. Place on the baking sheet about 1 inch apart.
- Bake for 8 to 10 minutes or until the cookies are puffed and the edges are set.
- Cool the cookies on the baking sheet for 2 to 3 minutes before pressing one pumpkin into the center of each cookie.
- Transfer to a wire rack and allow the cookies to cool completely. The candies will look like they are melting but do not disturb them and they will resolidify in the correct shape.
- Store in an airtight container for up to 1 week or refrigerate for up to 3 weeks. Cooled cookies can also be frozen but sudden temperature changes may cause the candy to “bloom” which is harmless but not pretty.
Nutrition
Nutritional Disclaimer: Family Fresh Meals is not a dietician or nutritionist, and any nutritional information shared is only an estimate. We recommend running the ingredients through an online nutritional calculator if you need to verify any information.
Did You Make This Recipe?
Make sure to share it with me below!

The kids love these!